Trucks and trailers
A project is the fleet of one company: several trucks, with the cabins you choose, and several trailers. You design the identity once and export the whole fleet as one mod.
One game per project
Section titled “One game per project”A project belongs to one game, ETS2 or ATS, set by its first vehicle. ETS2 and ATS mods are separate, so you can only add vehicles of the project’s game. If you drive in both games, make one project per game: your personal library carries your colors, styles and symbols from one to the other.
How a vehicle’s paint job is made
Section titled “How a vehicle’s paint job is made”The games split a paint job into a main texture and accessory textures, and TruckPaint follows them:
- A truck has one main texture per cabin layout. When its cabins have different layouts (a standard cab and a high roof, for example), each layout has its own main texture, and you choose which ones to paint. Cabins you leave out simply don’t get the paint job. When all its cabins share one layout, a single main texture covers them all.
- A trailer has a single main texture. Its body types and lengths are accessories, not variants: a trailer has no variants.
- Accessories (side skirts, mirrors, mudflaps…) belong to the vehicle and are shared by all its cabins.
Add vehicles
Section titled “Add vehicles”- Click Add Vehicle… in the Project space, or the + button of the Textures tab in the Workshop, or choose Vehicle › Add Vehicle….
- Check one or more vehicles. The list shows the official vehicles first, then your other installed vehicles, all of the project’s game. Search by name or brand, and filter trucks or trailers.
- Under each checked vehicle, check the main textures and accessories to paint. At least one main texture stays checked.
- Click Add.
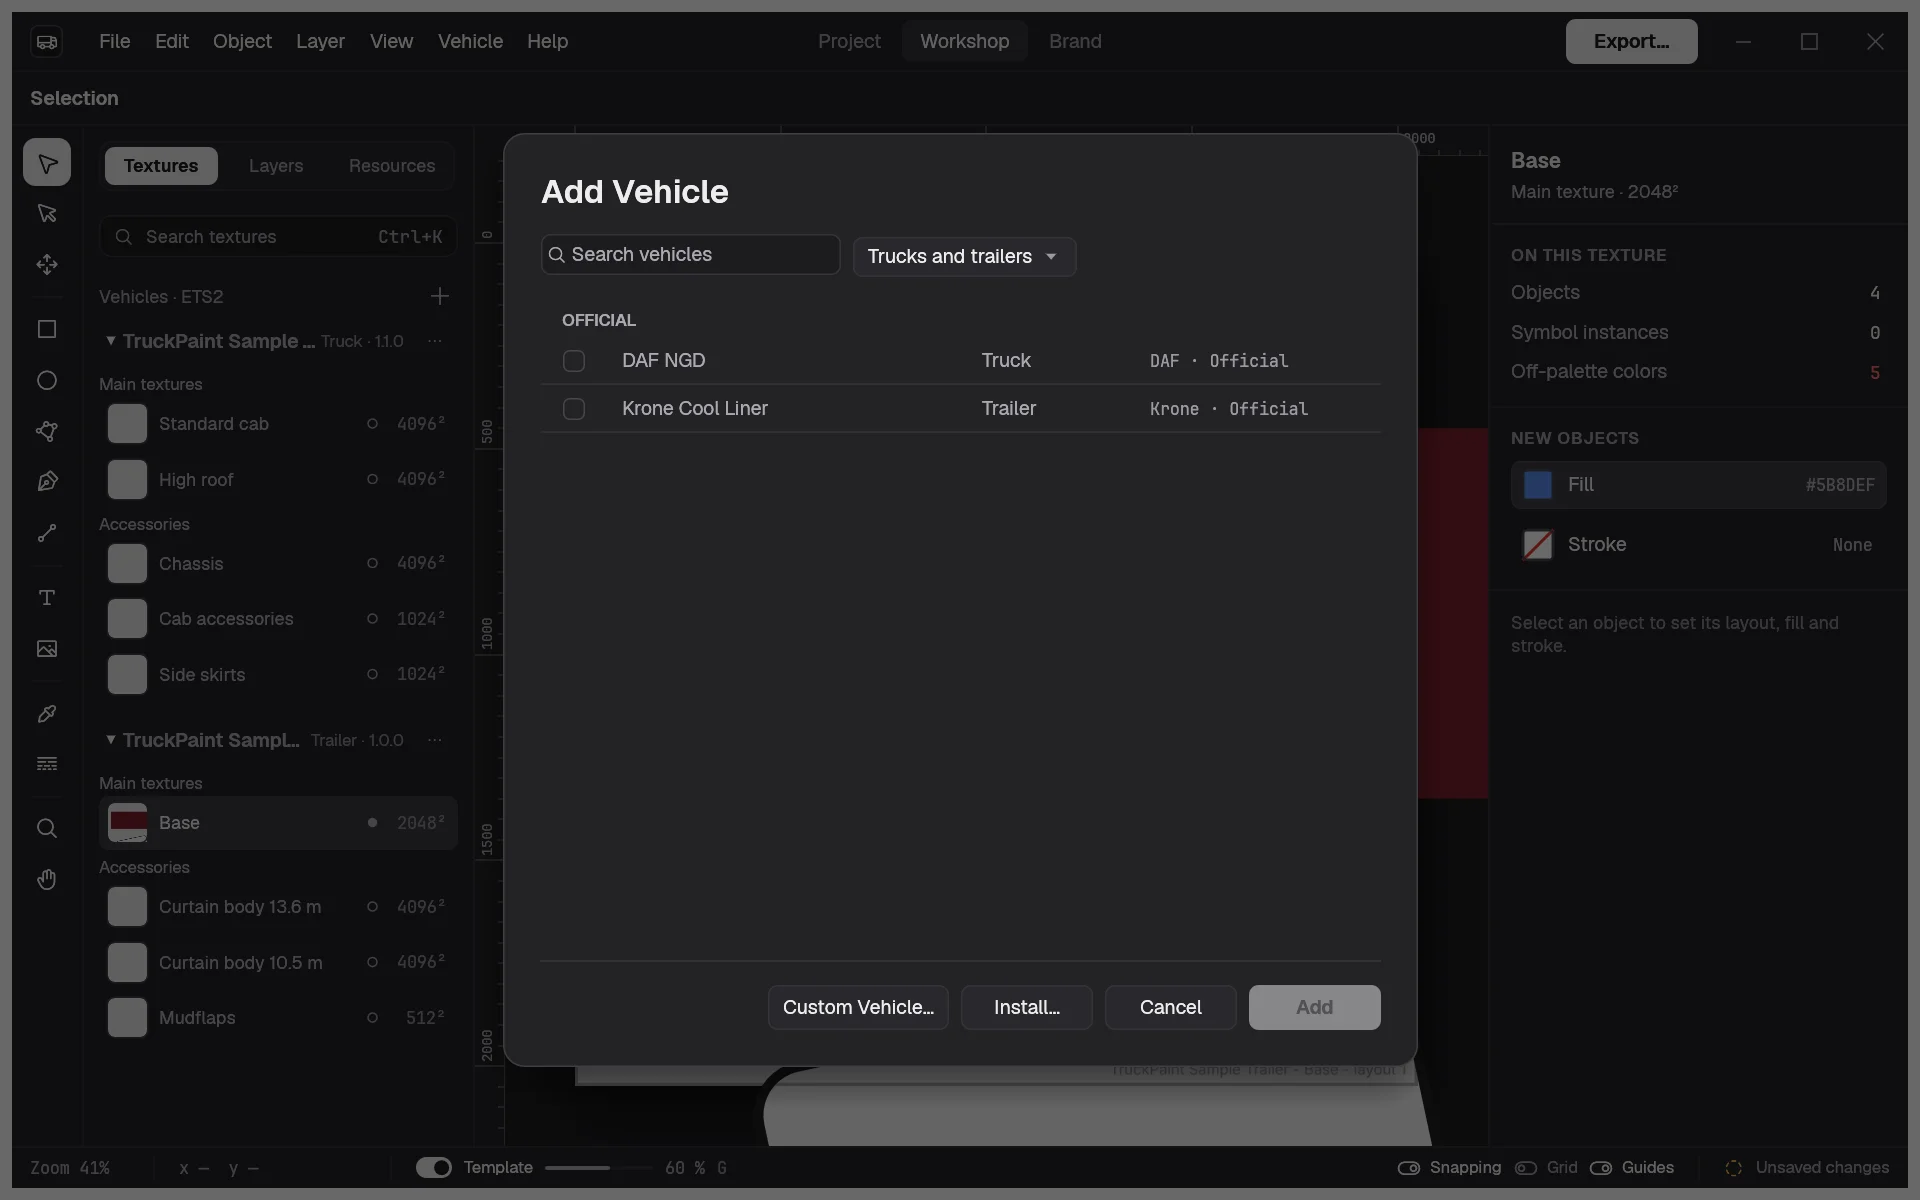
The new vehicles join the fleet in the order you checked them, and the first new texture becomes active. One Undo (Ctrl+Z, ⌘ on macOS) removes them all.
No package for your vehicle? Click Custom Vehicle… in the same dialog: see Custom vehicles.
Move between textures
Section titled “Move between textures”In the Workshop, the Textures tab shows the fleet as a tree: each vehicle, with its main textures and its accessories. Click a texture to paint on it. Its marker tells its state: a hollow ring for Empty, a dot for Modified, a warning icon for To check.
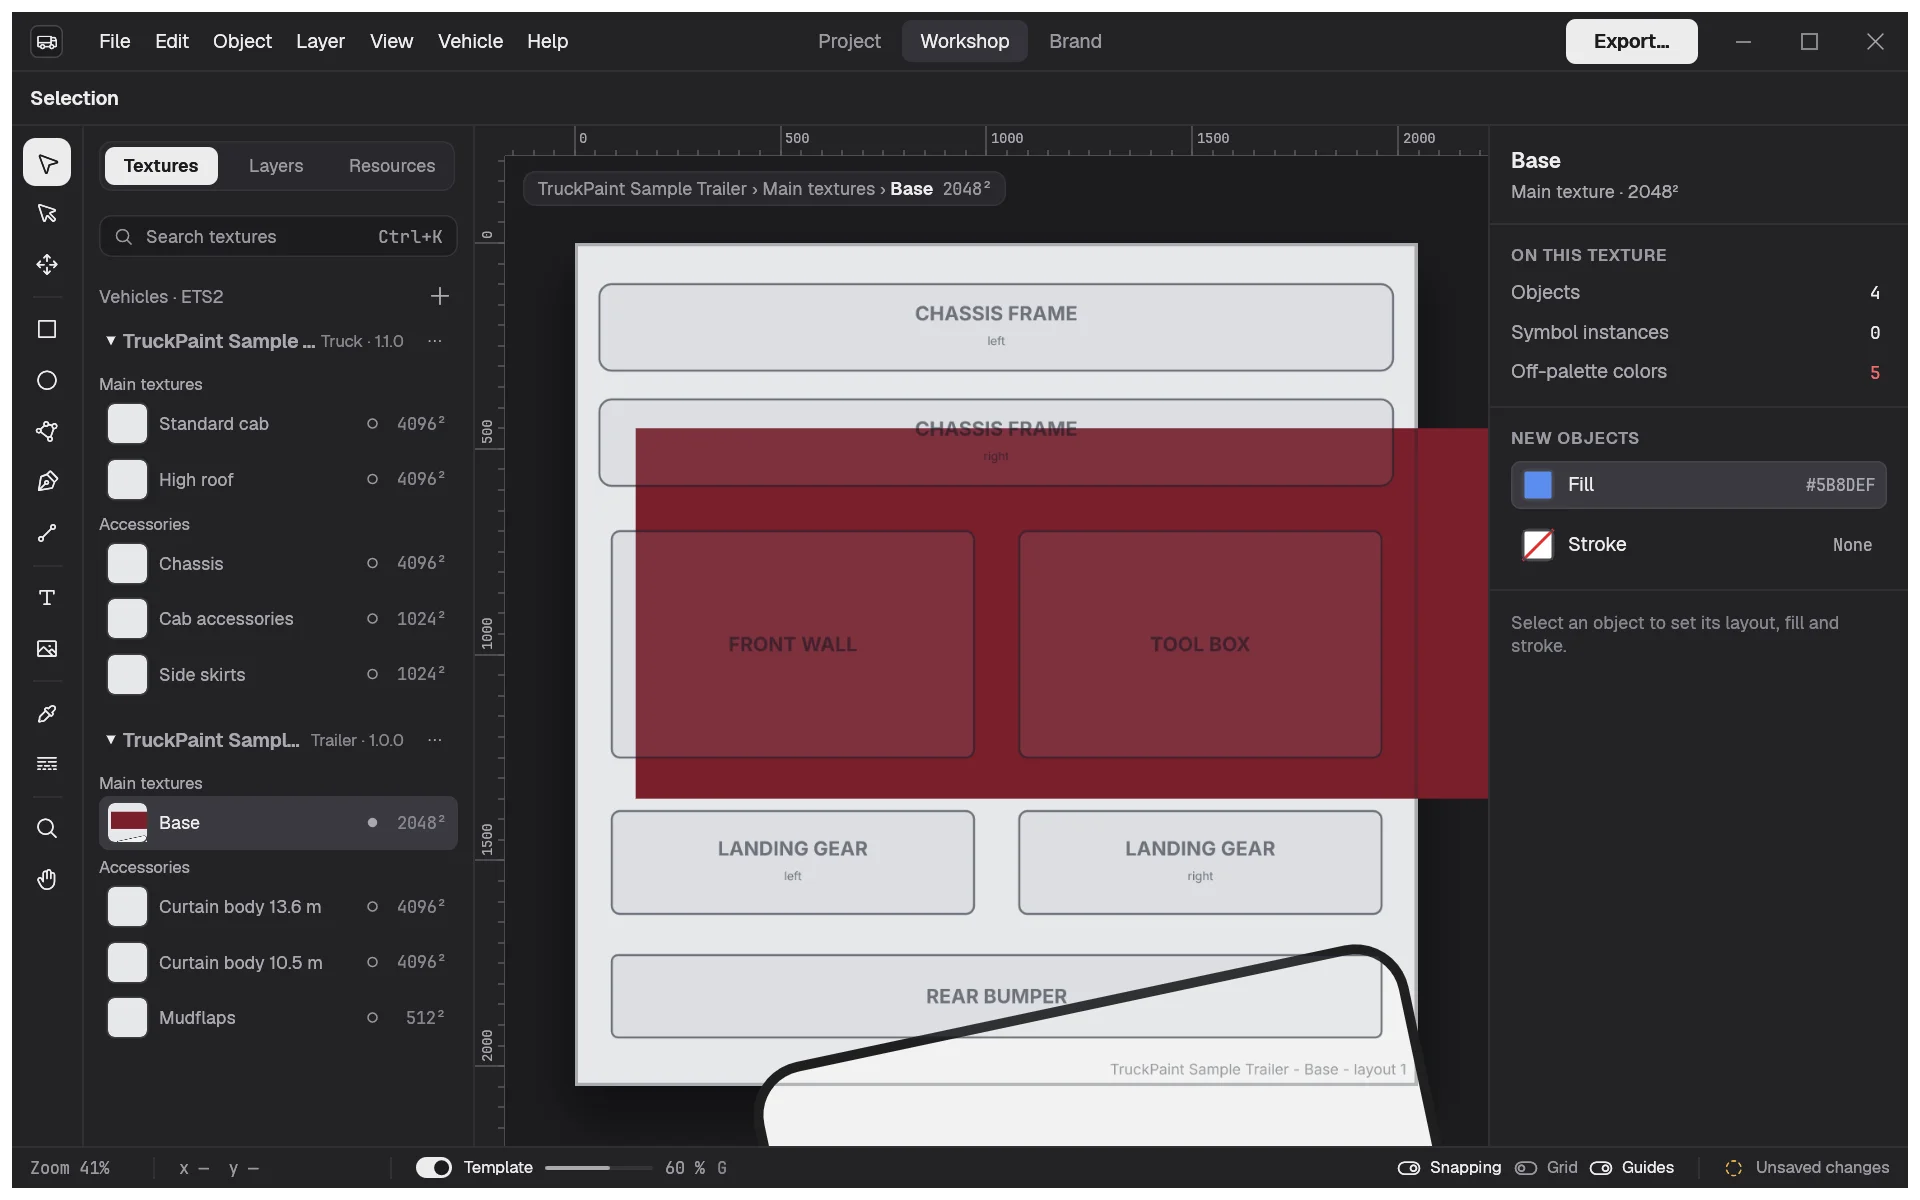
Vehicle › Next Texture (Ctrl+]) and Previous Texture (Ctrl+[) go through every texture of the project. The Search textures field above the tree opens the command palette (Ctrl+K) to jump to a texture by name.
Change a vehicle’s textures
Section titled “Change a vehicle’s textures”Click Textures… on the vehicle’s card in the Project space, or in its ⋯ menu in the Textures tab. Check a texture to add it, uncheck one to remove it, then click Apply.
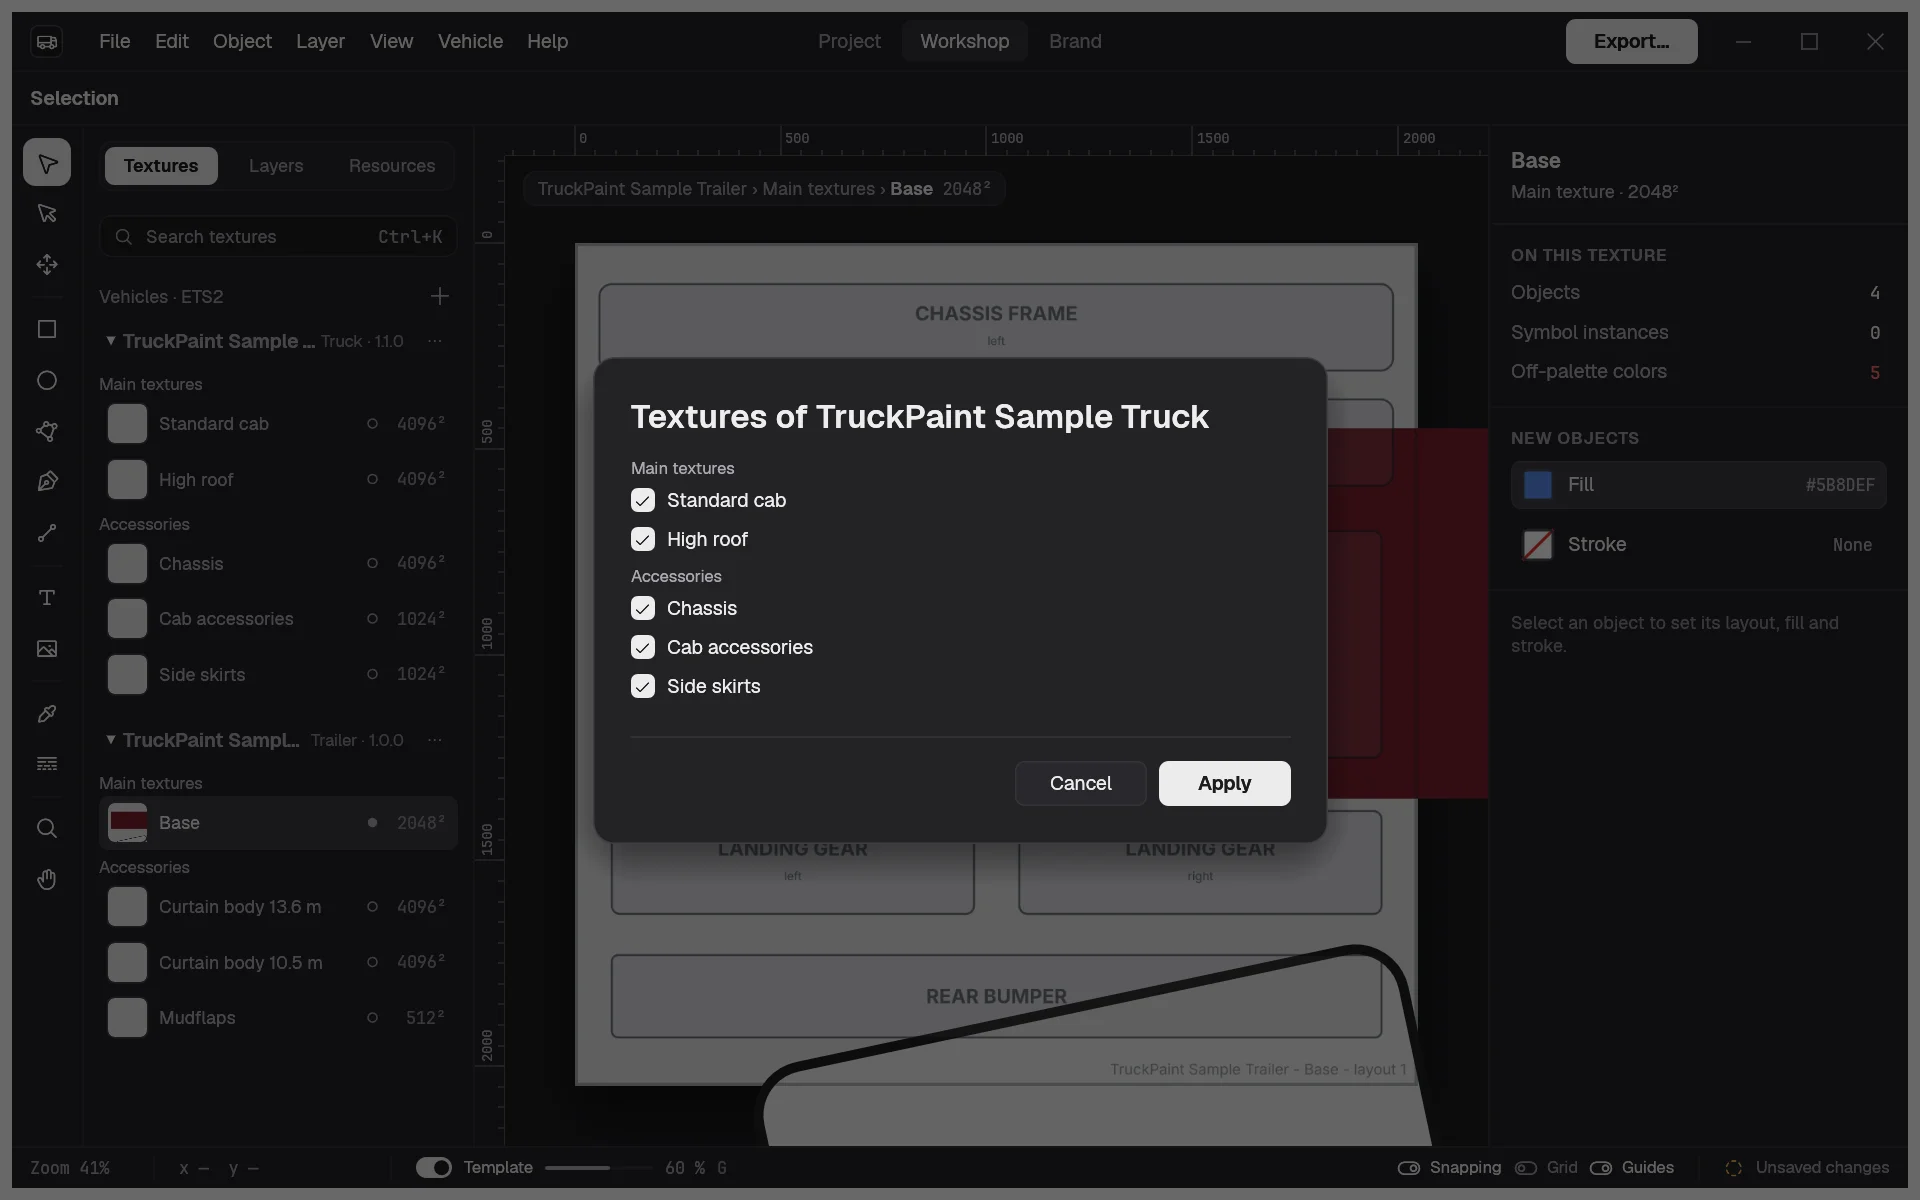
If a texture you remove holds artwork, TruckPaint names it and asks first. Undo brings it back with its artwork. A vehicle always keeps at least one main texture.
Remove a vehicle
Section titled “Remove a vehicle”Choose Remove from Project in the vehicle’s ⋯ menu. If its textures hold artwork, TruckPaint asks first. The last vehicle of a project can’t be removed.
Reuse your design across vehicles
Section titled “Reuse your design across vehicles”Each vehicle’s textures are laid out differently, by its 3D model, so a design can’t be copied to the same spot on another vehicle. What you share across the fleet are the elements: the brand palette, the styles and the symbols. Draw your logo once as a symbol and place it on each texture: editing it updates them all. See the Brand space.
Copy from Cabin
Section titled “Copy from Cabin”The cabin layouts of one truck share most of their texture, so the same positions fit. To start a cabin from another one:
- Open the main texture you want to fill, for example the high roof.
- Choose Vehicle › Copy from Cabin….
- Choose the cabin to copy from. Each one shows how many objects it holds.
- Click Copy.
Every object of that cabin is copied onto the active texture, above its own objects, at the same positions (scaled if the two textures differ in size), and selected so you can adjust them. Links to swatches and styles are kept. The source cabin is unchanged, and one Undo removes the copies.
Copy from Cabin… works only between main textures of the same truck, when the project paints at least two of them. Accessories and trailers have no other cabin to copy from.