Color and gradients
Colors are set in the inspector’s Appearance section. It edits the selected objects, or, with nothing selected, the look of the next shapes and texts you draw (shown under New objects).
Fill and stroke
Section titled “Fill and stroke”Shapes and texts have a Fill and a Stroke (an outline). Each has its own row in the inspector, with a swatch of its paint and a summary: the hex code, the name of a palette color, or “Linear” or “Radial” for a gradient.
The row you clicked last is the target: the color popover, the eyedropper and the palette act on it. Three keys help:
| Key | Command |
|---|---|
| X | Switch Fill/Stroke Target |
| Shift+X | Swap Fill and Stroke |
| D | Default Colors (default fill, no stroke) |
Pick a color
Section titled “Pick a color”Click a row’s swatch to open the color popover beside the inspector. It holds, from top to bottom:
- the Solid / Linear / Radial choice;
- a color picker with hue and alpha sliders, and RGB, HSV or HSL sliders with their values;
- a Hex field: type
#RRGGBB,#RGBor#RRGGBBAAand press Enter; - the Brand palette, the project’s named colors;
- the Recent colors, the last 12 you used.
Changes show live on the texture. Press Escape or click outside to close the popover; closing keeps your changes, and each drag or typed value is one undo step.
Click a palette swatch to apply it: the color is then linked to the swatch, its row shows the swatch’s name with a link icon, and editing the swatch later updates every linked color on every texture. Add to Palette saves the current color as a new swatch. See Palette.
Set up the outline
Section titled “Set up the outline”With the stroke as target, the popover also offers None to remove the outline; picking any color adds one (4 px by default). Click the summary of the Stroke row, such as “6 px · Outside”, to open the stroke options:
- Stroke width, in texture pixels;
- alignment: Center, Inside or Outside of the edge;
- Dashed, with Dash and Gap lengths and a few presets;
- Cap, Join and Miter limit.
Lines and open paths set their thickness, dashes, caps and joins in their own line settings instead (see Drawing tools).
Use gradients
Section titled “Use gradients”Fills and strokes of shapes, paths and texts can be gradients. In the color popover, choose Linear (a fade along a line) or Radial (a fade from a center). A new gradient goes from the current color to the same color, transparent.
The gradient bar under that choice shows one marker per color stop:
- click a marker to select its stop, then pick its color as usual;
- drag a marker, or type its Location, to move it;
- click the bar to add a stop (up to sixteen); drag a marker away from the bar, or press Delete on it, to remove it (two stops stay);
- Reverse gradient flips the stops, Angle turns the gradient, and Aspect stretches a radial gradient into an ellipse.
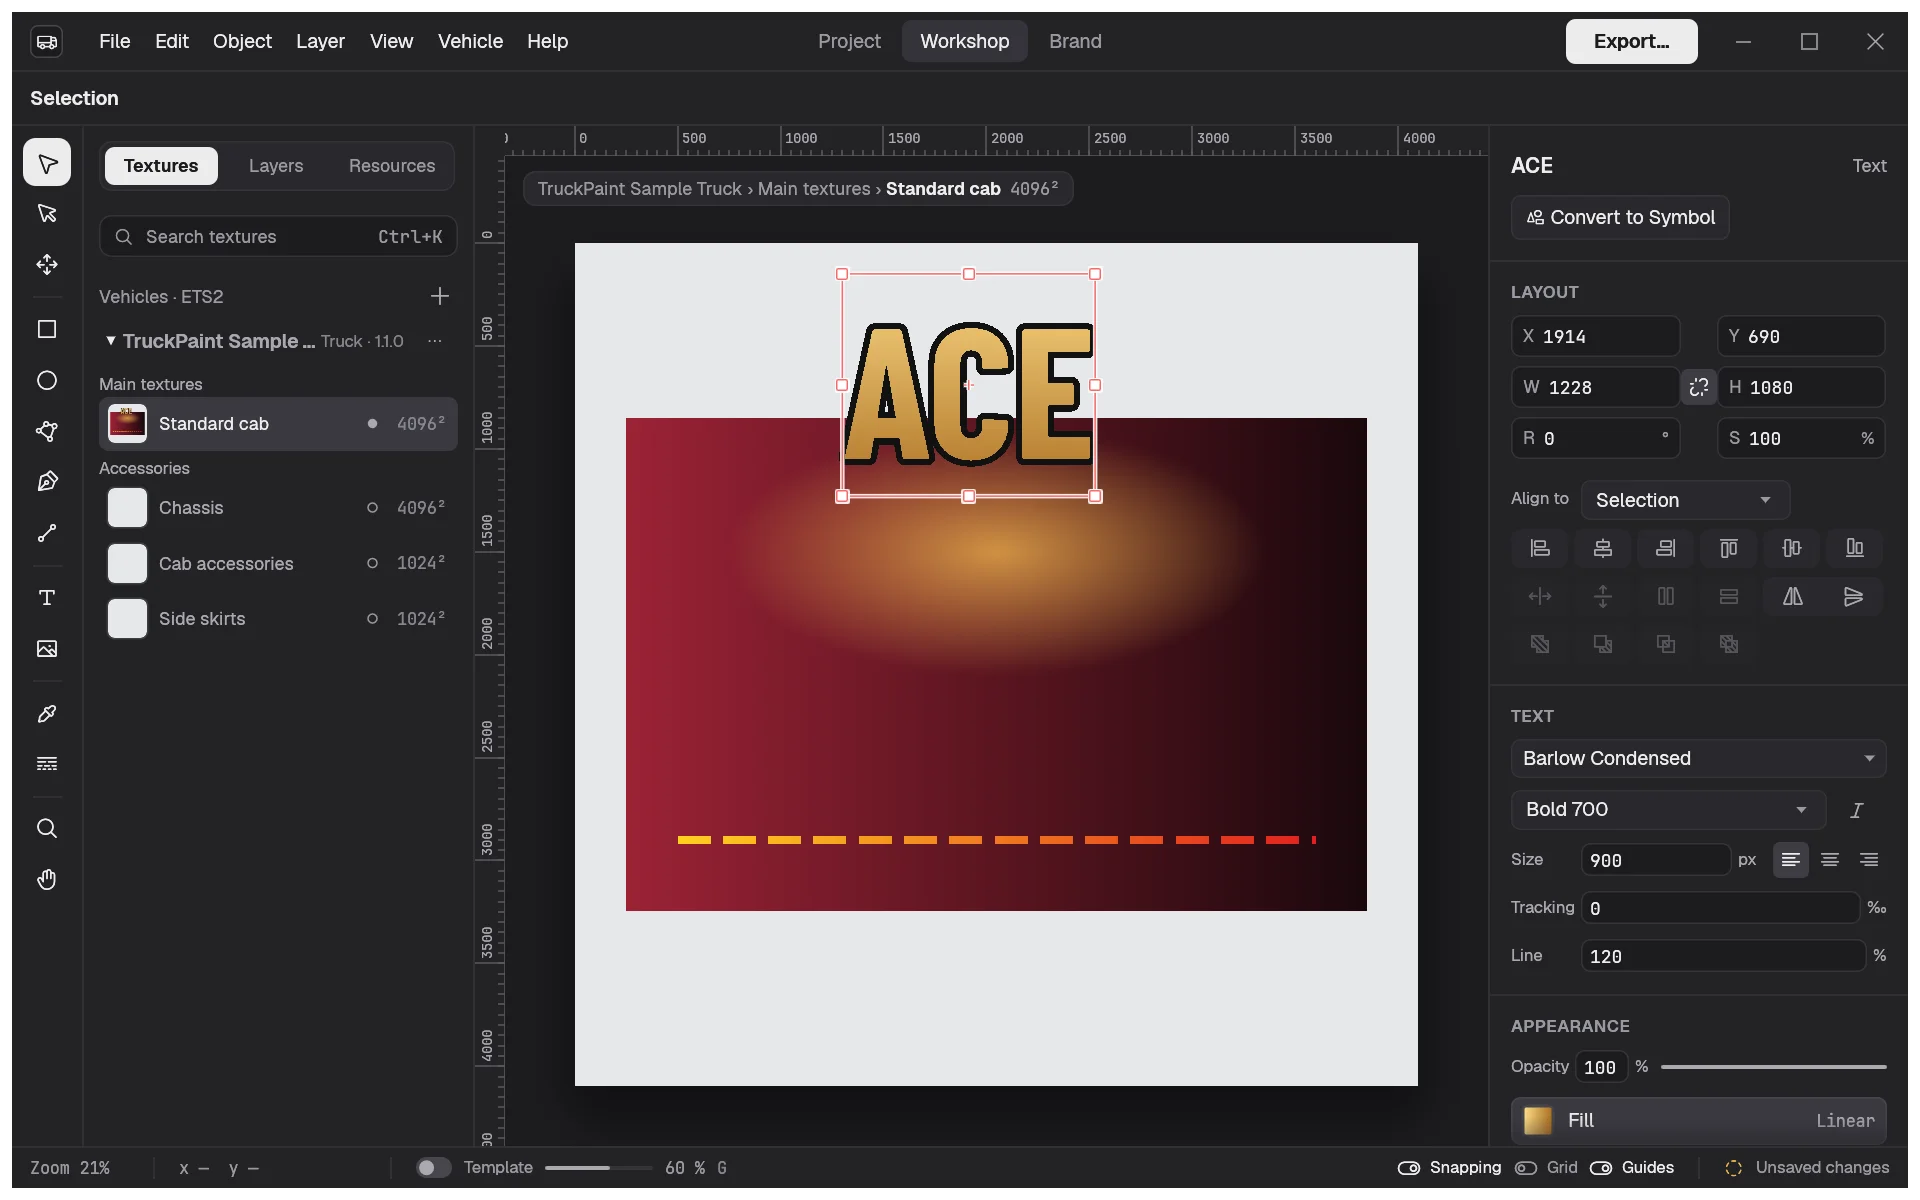
To place a gradient by hand, pick the Gradient tool (Shift+G). On a selected object with a gradient, drag its handles; anywhere else, drag a new line from start to end. Shift keeps the direction at 45° steps. A gradient follows its object when you move, resize, rotate or flip it.
Opacity
Section titled “Opacity”Opacity (0 to 100%) makes the whole selected object see-through, fill, stroke and shadow together. It works on images and groups too. To make only one color transparent, lower its alpha in the picker instead.
Drop shadow
Section titled “Drop shadow”A shadow keeps lettering and logos readable on any background. Select shapes, texts or images and click + Add a shadow: they get a black shadow at 50%, offset 8 px right and down, blurred 8 px. Click the Shadow row to change its color (which can be a palette swatch), Shadow opacity, Offset X, Offset Y and Blur (0 for a hard edge). The button at the end of the row removes it.
The shadow looks the same in the exported texture. It isn’t part of the object for selecting, snapping or aligning. Groups have no shadow of their own, but the objects inside them can.
Pick a color from the texture
Section titled “Pick a color from the texture”With the Eyedropper tool (I), click an object to copy its fill, or its stroke when the stroke is the target, gradients included, onto the selection. Click an image to take the color of the pixel under the pointer. The template is ignored, so you always pick your own artwork.