Drawing tools
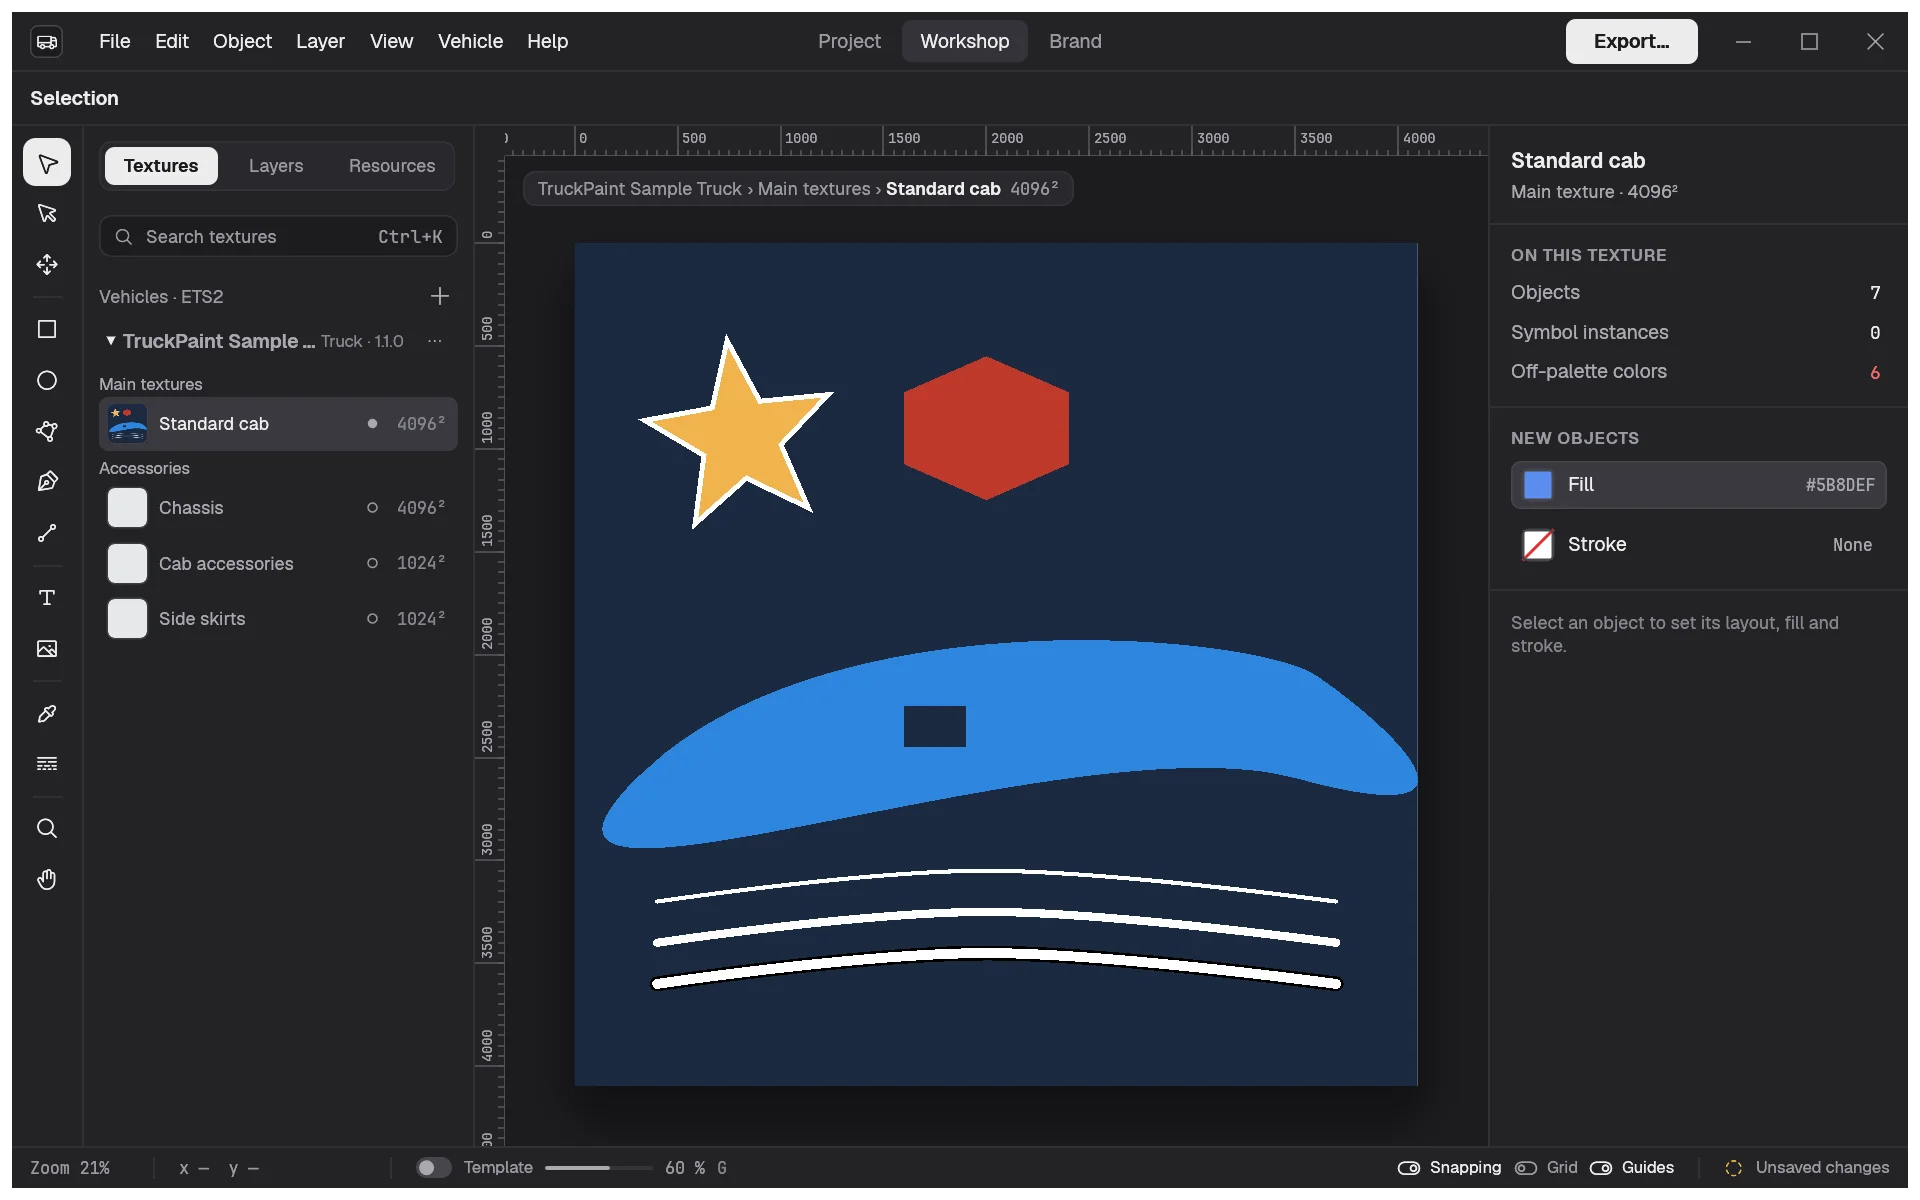
The tools draw vector shapes on the active texture. Sizes and positions are in texture pixels, so a 512 px band is 512 pixels of the exported texture, whatever the zoom. Hover a tool in the tool rail to see its name and shortcut.
New shapes take the fill and stroke shown in the inspector when nothing is selected (see Color and gradients), and go at the top of the active layer.
Draw rectangles and ellipses
Section titled “Draw rectangles and ellipses”- Pick the Rectangle or Ellipse tool.
- Drag on the texture. Hold Shift for a square or a circle, and Alt (Option on macOS) to draw from the center.
- Release. The shape is selected and the tool stays active for the next one.
Press Escape during the drag to cancel. Round the corners of a rectangle with Corner radius in the inspector’s Appearance section.
Draw polygons and stars
Section titled “Draw polygons and stars”With the Polygon tool, drag a box: the polygon fills it, first point up. Shift keeps it regular. Set Sides (3 to 12), Star and Inner radius in the tool options bar above the canvas, before you draw. When polygons are selected, the same settings appear in the inspector’s Polygon section and change them in place.
Draw paths with the Pen
Section titled “Draw paths with the Pen”- Pick the Pen tool.
- Click to add corner points. Press and drag to add a smooth point with curve handles. Shift keeps the new point and handles at 45° steps.
- Click the first point to close the shape, or press Enter or Escape to leave the path open.
Backspace, or Ctrl+Z (⌘Z on macOS), removes the last point while you draw.
Draw lines
Section titled “Draw lines”With the Line tool, drag from one end to the other; Shift snaps the angle to 45° steps and Alt draws from the middle. Lines and open paths are painted with the fill color. Their thickness is the Width field of the inspector (8 px at first); click it to set Dashed, Cap and Join.
Select, move, resize and rotate
Section titled “Select, move, resize and rotate”With the Selection tool:
- Click an object to select it; a click on an object inside a group selects the group, and Ctrl-click selects the object itself. Shift-click adds or removes. Drag on empty canvas to select with a marquee. Select All is Ctrl+A, Escape deselects.
- Drag the selection to move it; Shift keeps the move straight or at 45°. The arrow keys nudge by 1 px, by 10 px with Shift.
- Drag a handle to resize: Shift keeps the proportions, Alt resizes from the center.
- Drag just outside a corner to rotate; Shift snaps to 15° steps.
For exact values, type them in the inspector’s Layout section: X position, Y position, Width, Height, Rotation and Scale. You can also drag on a field’s label to change its value.
Duplicate (Ctrl+D), Copy, Paste and Delete are in the Edit menu. Copied objects can be pasted on another texture or into another project.
Edit points
Section titled “Edit points”The Direct Selection tool shows a path’s points. Click a point (Shift-click for more) and drag it, or drag its handles; Alt-drag a handle to break a smooth point into a corner. Double-click a point to switch it between corner and smooth, double-click a segment to add a point, and press Delete to remove the selected points.
Rectangles, ellipses and polygons have no editable points until you choose Object › Convert to Path.
Line things up
Section titled “Line things up”- Snapping pulls what you move or draw onto the grid, guides, the texture’s edges and center, and other objects’ edges and centers. Toggle it with View › Snapping or in the status bar; hold Ctrl during a drag to ignore it.
- Guides: drag from a ruler onto the canvas. Drag a guide back onto a ruler to delete it. Show Guides and Clear Guides are in the View menu.
- Grid: View › Show Grid. Set its Grid spacing in Preferences… (64 px by default).
Guides and the grid are never exported.
Align and distribute
Section titled “Align and distribute”Select objects and use the buttons of the Layout section, or Object › Align. Align to picks the reference: Selection, Artboard (the whole texture, handy to center a logo), or Key object (the last object you selected). Distributing needs three objects or more.
Combine shapes
Section titled “Combine shapes”Select two shapes or more and choose Object › Combine:
| Command | Result |
|---|---|
| Unite (Ctrl+Shift+U) | one shape covering them all |
| Minus Front (Ctrl+Shift+-) | the bottom shape, cut by the shapes above it |
| Intersect | only where they all overlap |
| Exclude | where they don’t overlap |
The result is one path. Texts must go through Create Outlines first; images and open lines can’t be combined.
Flip Horizontal (Shift+H) and Flip Vertical (Shift+V), in the Object menu and the inspector, mirror the selection in place.
Outlines
Section titled “Outlines”The Stroke row of the inspector adds an outline to shapes and texts, inside, outside or centered on the edge. See Color and gradients.